Tips On How To Flatten Your C-section Scar
As a women's health physical therapist, I was supposed to be this expert on C-section scars. But after having a C-section, my own scar still needed a lot of work. I did not like the appearance of my scar — or the look of my abdominal wall and C-section shelf. My core function was also so poor that I experienced aches and pains in my lower back and a tight right hip.
Even though C-sections account for 32% of U.S. births, C-section mamas receive little to no information on improving the look of their scars. It wasn't until I focused on fixing myself that I truly understood C-section recovery requires special care that's very different from vaginal births. Here are my tips on flattening your C-section scar and strengthening your postpartum core!
1. Take the pressure off from above
Lifting your mid back (aka the thoracic spine) helps create more space above your C-section scar and reduces unwanted pressure. If you slump forward, poor posture makes your C-section shelf more noticeable and increases your incision's raised appearance.
During pregnancy, our ribs become scrunched from the growing baby — and they often stay that way after birth. If your ribs are misaligned or scrunched together postpartum, your body is forced into a slumped position. Poor posture not only puts downward pressure on a C-section scar but also compresses the nerves that stimulate the stomach muscles of our core — making it hard to get our stomach muscles back after birth.
How to get started:
To fix your core, you need to re-teach your brain where your ribs should be. This technique is great because it works quickly. If you show your brain a better way to lift your ribs, it will naturally want to choose a better way after 2 weeks of reminders.
Use one of these cues to help fix your rib position and take pressure off your C-section scar:
Imagine the ribs are slinky, with each rib stacked on top of one another. While straightening your posture, think about each rib lifting to create space in that slinky.
Imagine you placed an empty balloon under each armpit. As you straighten, think about that balloon filling up with air and lifting those top ribs.
Close your eyes as you think of a memory that brings you joy — or something you are grateful for. Then, try lifting your ribs as you lift your mood.
Test which cue works for you, and try rotating your trunk to see if your rotation improves.
2. Scar tissue mobilization
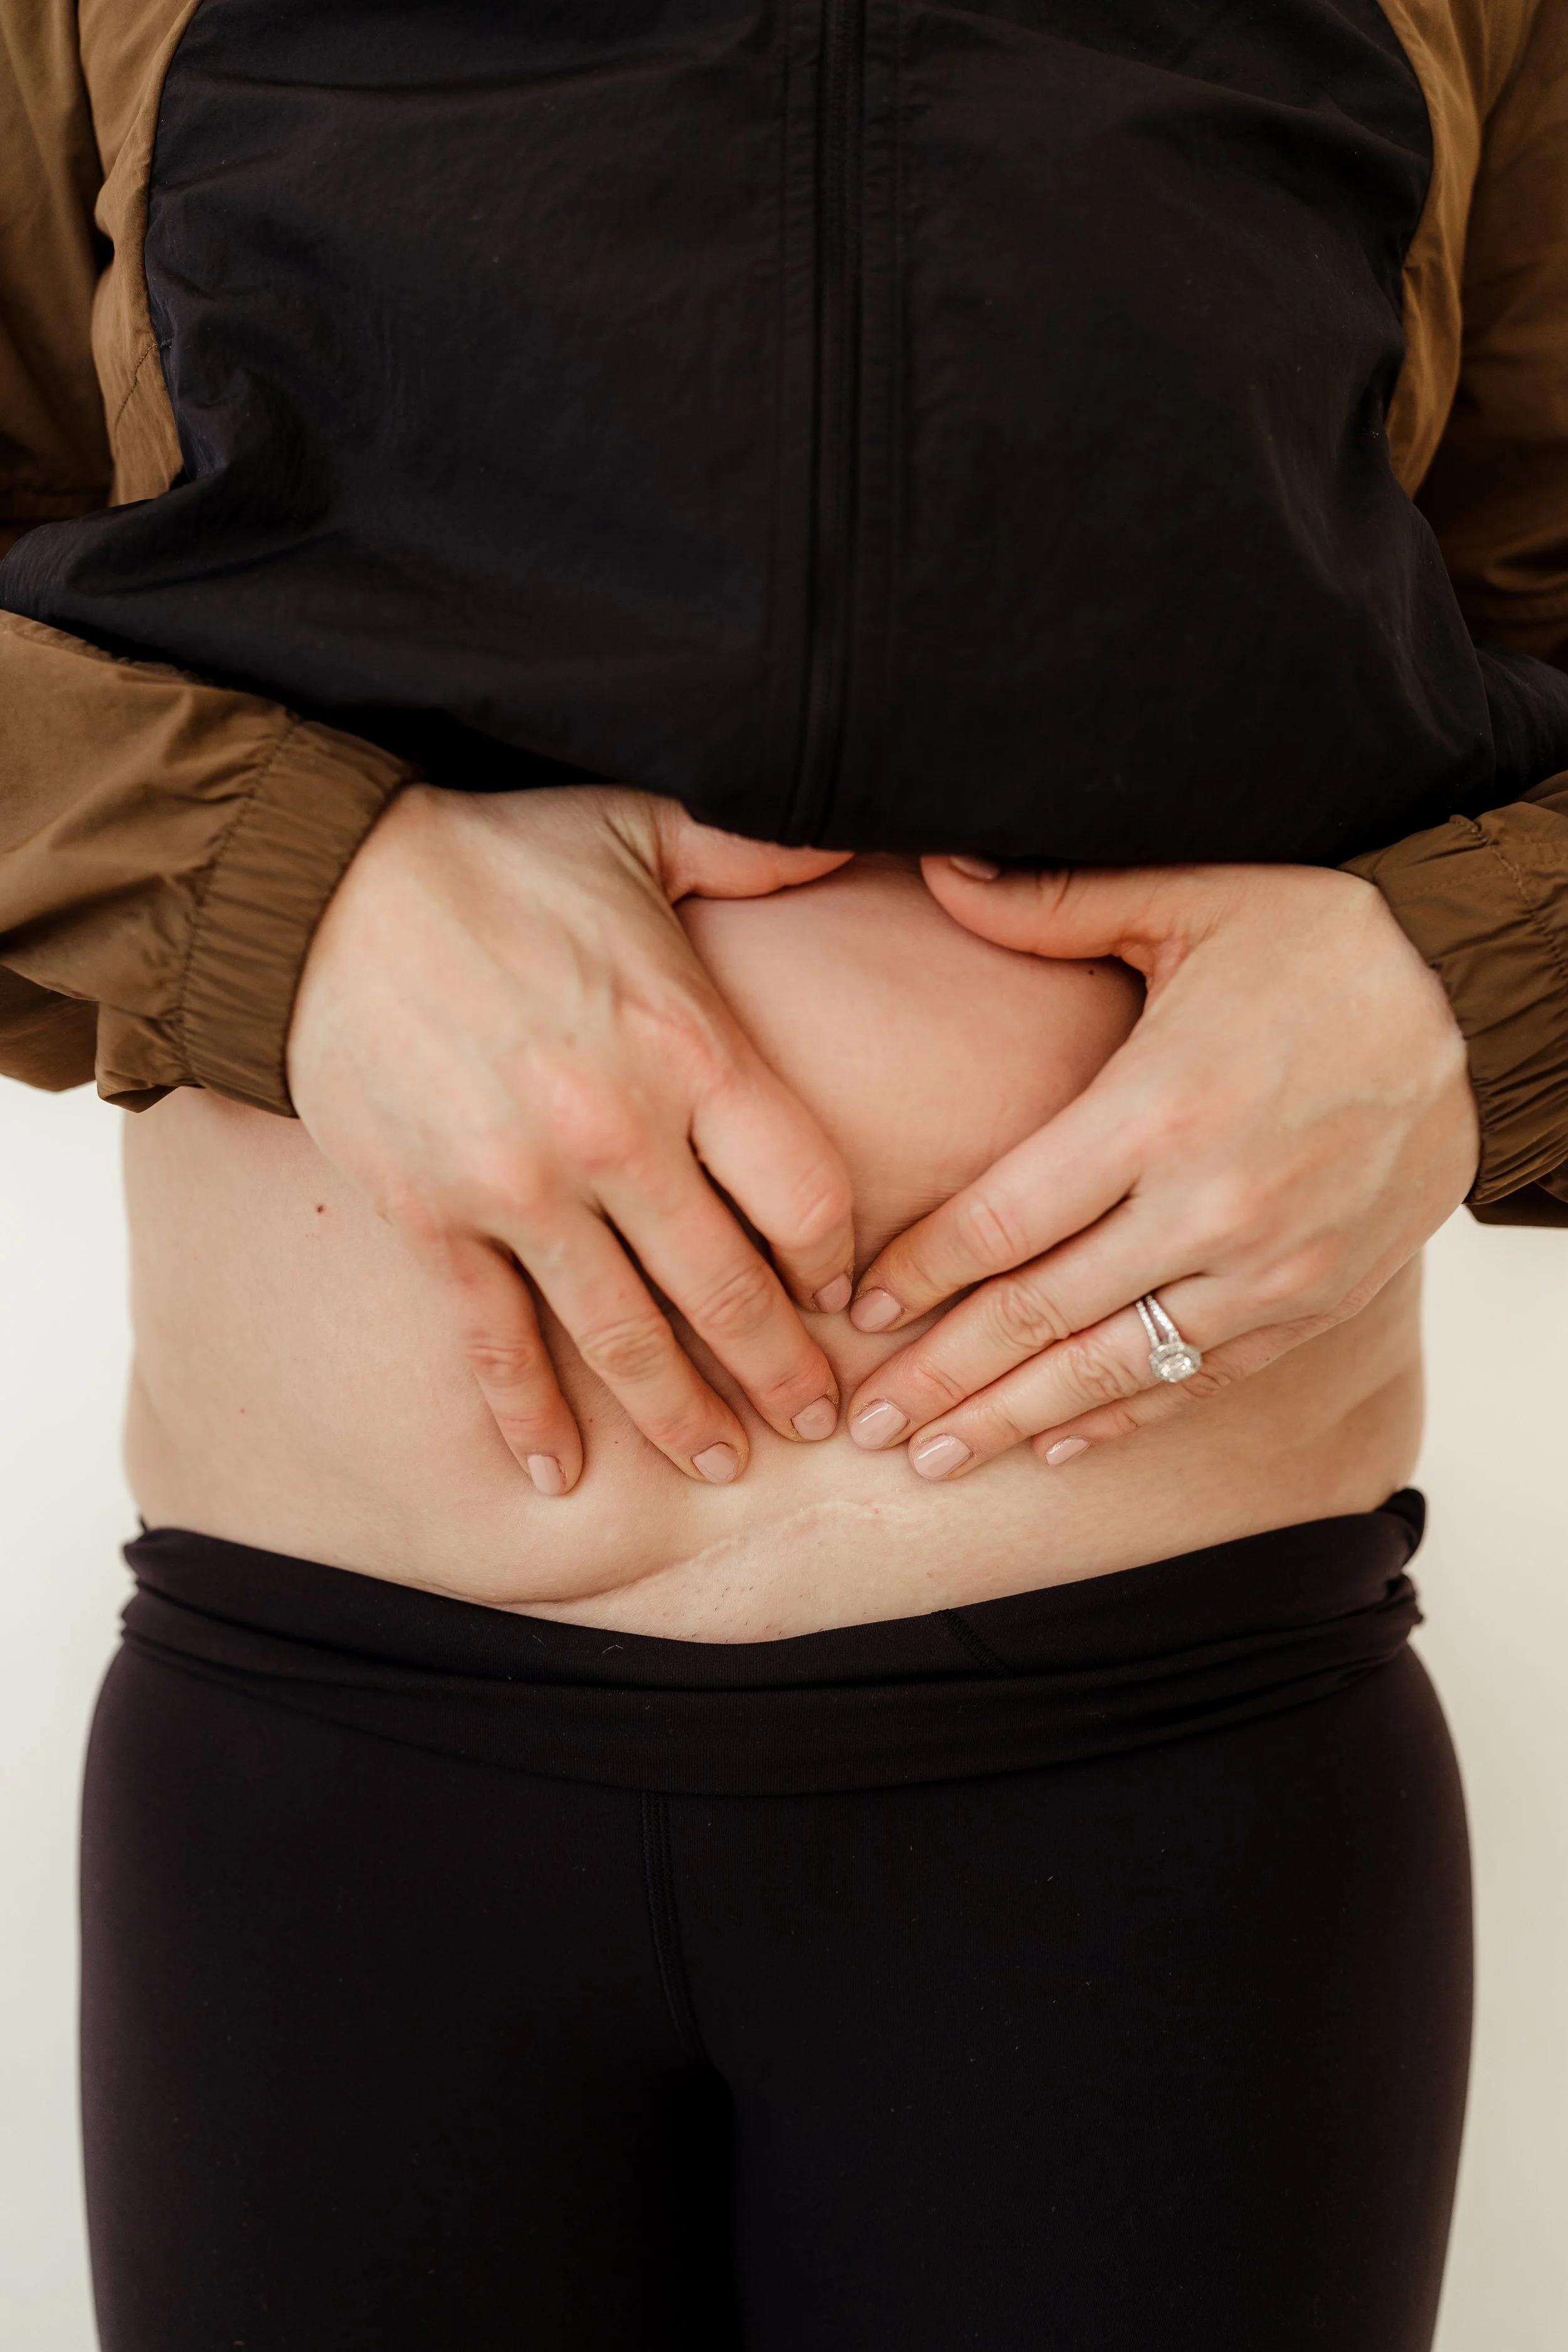
Scar tissue mobilization moves the tissue on and around your scar, and it is an important part of caring for your C-section scar. Even if you had a C-section months ago, it's never too late to add scar tissue mobilization to improve the look of your scar.
Think of scar tissue like the roots of a tree — it grows in multiple directions and reaches into your connective tissue. As those roots bind together, it can pull your C-section scar inward and create a shelf-like appearance. This buildup of scar tissue also makes your scar appear thick – contributing to that C-section shelf — and can cause pain and complications in future pregnancies. Practicing scar tissue mobilization increases blood flow to the area to reduce pain and improve scar healing, which can improve your body's efficiency by improving movement patterns.
For best results, add scar tissue mobilization to your core program — making sure to prioritize and schedule your core workouts and scar work.
How to get started:
We recommend starting scar tissue mobilization once you are 4 weeks postpartum and working on your scar for 3-5 minutes every night before bed. If you're late to the game, you can start working on your car now — it's never too late to start!
When you work to mobilize the scar, there is no right or wrong direction. Focus on just getting the tissue moving. Like any body movement, some scar tissue mobilization is better than nothing. Here are the techniques I use in the clinic that get the most bang for your buck:
Clear around the scar
Clear the canvas: "Clearing the canvas" involves locating and treating areas of tension on your scar. Starting at the top of the rib cage, run a flat hand left to right as you move down to your pubic bone. Take note of areas that feel tender, tight, or restricted. To treat areas of restriction in the abdominal wall, hold the area in the tightest direction and breathe into that spot.
Upper abdominals and diaphragm release: Lying on your back with your knees bent, hook your right hand under the rib cage on the side of the belly muscle. Once you feel tight areas, roll to your right by lifting your left hip and pulling your belly muscle with your hand. Then let the left leg open outward. Repeat on the opposite side.
Oblique soft tissue: Lying on your left side, wrap your right hand around the back next to your spine. Then glide your hand towards the abdominal wall, massaging restriction areas as you move. Repeat this move several times before moving to the next side.
Move the scar
Superior pull with pelvic clock: Place your three middle fingers over your scar and press down into the scar. Then, pull the scar upward toward your head. Now that you are holding the scar, imagine a clock on your pelvis: 12:00 is up toward your head and 6:00 is down toward your feet. Drop your pelvis down to the 6:00 position, moving the scar by creating pelvic movement..
Visceral mobilization with knee rock: Lay on your back with your knees bent and place a hand in the middle of your pelvis — right above the pubic bone — and move your hand 1 ½ inches to the right. With your hand vertical, press downward toward your spine — this position puts your hand to the side of the uterus. Now rock your knees side to side, keeping your hand pointed downward. You can use the other hand to anchor the first hand downward. Make sure you avoid this movement if you are pregnant or could be pregnant.
Add movement
There is a lot of tightness around the scar, so we want to move our body to help open up the scar in a functional way.
Superior pull with adductor stretch: Start in a half-kneeling position and bring your front foot out at a diagonal. Place your hands just below the scar, pressing downward into the skin and lifting the skin upward. Once you are holding a tight area, lunge forward on to that front leg. Repeat on the other side.
Bowing adductor stretch: Start in a tall kneeling position, then straighten one leg to the side. Hinge at the hips, pushing your butt backward and bringing your chest to the ground. Place your hands just below the scar as you press downward into the skin and lift the skin upward. Once you are holding a tight area, lift your chest upward to an erect position. Release and repeat on the other side.
You can continue scar tissue mobilization until at least 12 weeks — or longer if you start working on your scar later.
Check out our free C-section scar mobilization cheat sheet here
3. Activate your deep core
During pregnancy, our abdominal wall, made of skin, muscle, and connective tissues, stretches. This stretching can make it difficult to activate your deepest abdominal muscles — the transverse abdominis (TA) — in the early postpartum months and beyond. You get a double whammy to your deep core when you have a C-section. Even though the abdominal muscles aren't usually cut, they are separated and put back — which can affect how they function postpartum.
Our TA muscles are like a pair of Spanxs that wrap around our core, making everything tight and a little flatter. So consistently activating and strengthening these deep abdominal muscles can improve the look of your C-section shelf and abdominal wall. Strengthening your deep core can also help alleviate postpartum lower back pain.
How to get started:
Once you are cleared to exercise postpartum (usually after at least 6 weeks), add TA strengthening exercises to your postpartum core program.
For C-section mamas, we especially recommend the following exercises to activate those TA muscles:
Push With One Leg Drop
Diagonal Crunch With Adductor Squeeze
Side Plank With Hip Drop
Takeaway
Improving the look of your C-section scar and restoring your abdominal wall takes time. Be kind to yourself, and don't rush the process. There's no such thing as bouncing right back from a C-section, anyways. In reality, the entire healing journey for C-section mamas can take years.
Working on your scar and abdominals takes a lot of persistence and patience. Start small and focus on improving posture, scar tissue mobilization, and deep core exercises.

EMPOWER YOUR CORE APP PROGRAM
If you're not sure where to start, we offer the 12-week Empower Your C-section Core program to help improve core strength and function postpartum. This lives within the Expecting and Empowered App!
Sources
Bermas BL. (2022). Maternal Adaptations to Pregnancy: Musculoskeletal Changes and Pain. https://www.uptodate.com/contents/maternal-adaptations-to-pregnancy-musculoskeletal-changes-and-pain
Centers for Disease Control and Prevention. (2023). Method of Delivery. https://www.cdc.gov/nchs/fastats/delivery.htm
Chang WD, et al. (2015). Core Strength Training for Patients with Chronic Low Back Pain. https://www.ncbi.nlm.nih.gov/pmc/articles/PMC4395677/
Gilbert I, et al. (2022). Exploring the Effects of Standardized Soft Tissue Mobilization on the Viscoelastic Properties, Pressure Pain Thresholds, and Tactile Pressure Thresholds of the Cesarean Section Scar. https://pubmed.ncbi.nlm.nih.gov/35426735/
Stupak A, et al. (2021). Scar Tissue after a Cesarean Section—The Management of Different Complications in Pregnant Women. https://www.ncbi.nlm.nih.gov/pmc/articles/PMC8620716/