How to Strengthen Your Core After a C-Section (In 15 Minutes!)
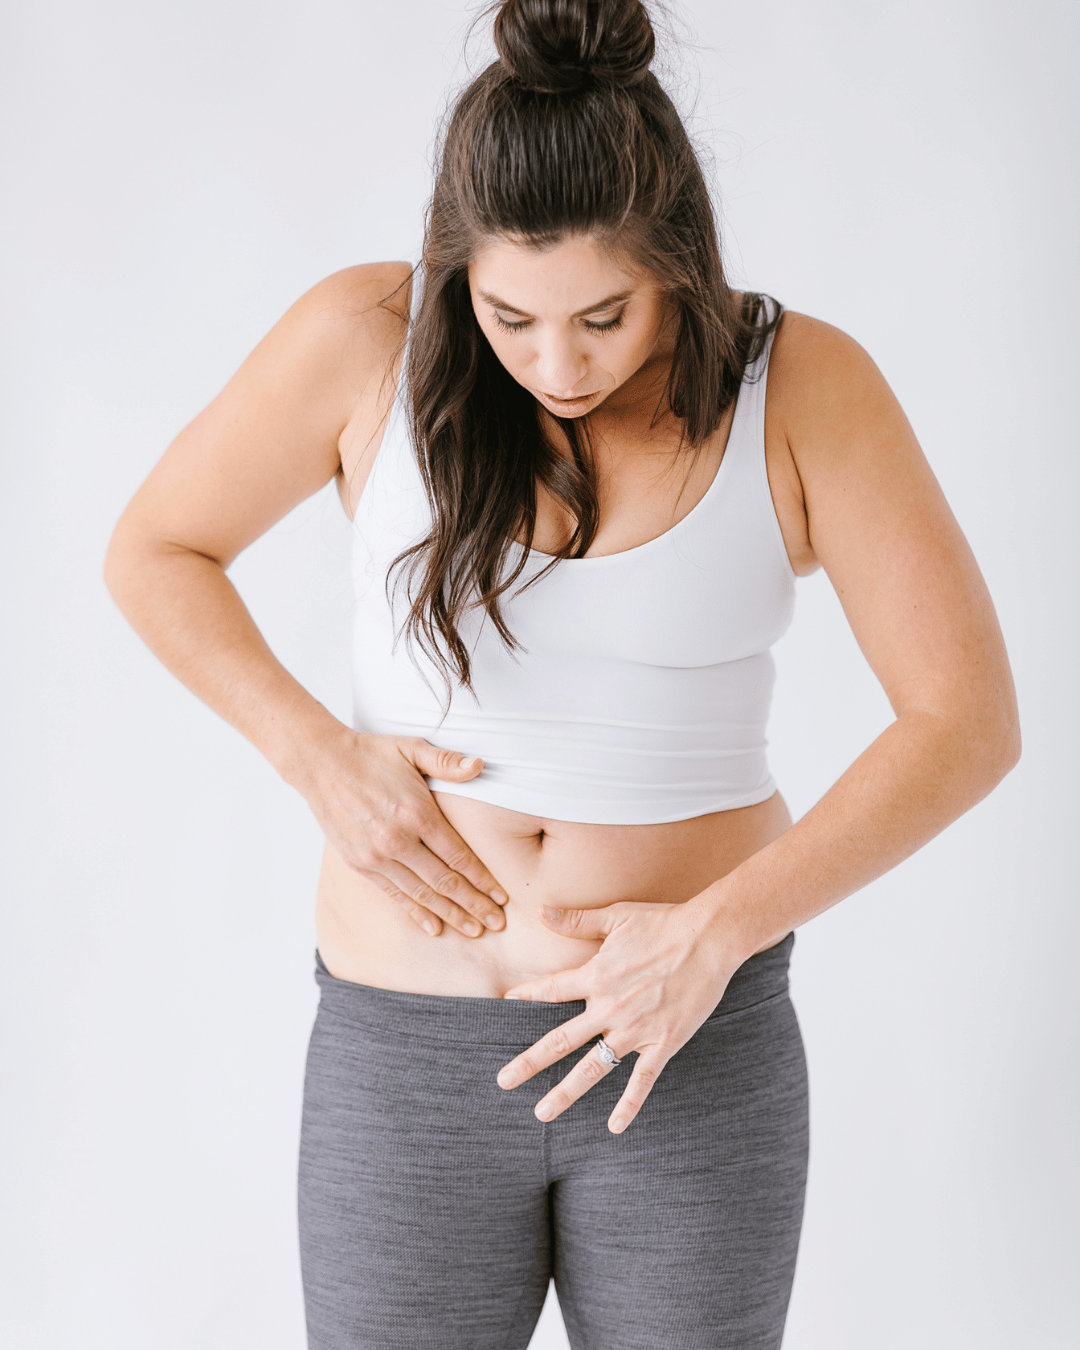
C-section moms need particular exercises to fire up their core again! Pregnancy already does a number on your core strength. As your uterus grows during pregnancy, your abdominal muscles stretch and weaken. During a C-section, the abdominal muscles are separated—making it even more difficult to activate your deep core postpartum.
Research also shows that C-section mamas are more likely to have diastasis recti! Diastasis recti is abdominal separation of the center line of your six-pack muscles. This causes the sides of the abs to look visibly separated. In C-section moms, diastasis recti can also cause a loose or flabby belly called the “mom pooch.”
Having had three C-sections myself, I know this all too well. But you can regain your core strength with safe exercises that help manage scar tissue, improve upper back mobility, and fire up those obliques and lower abdominals.
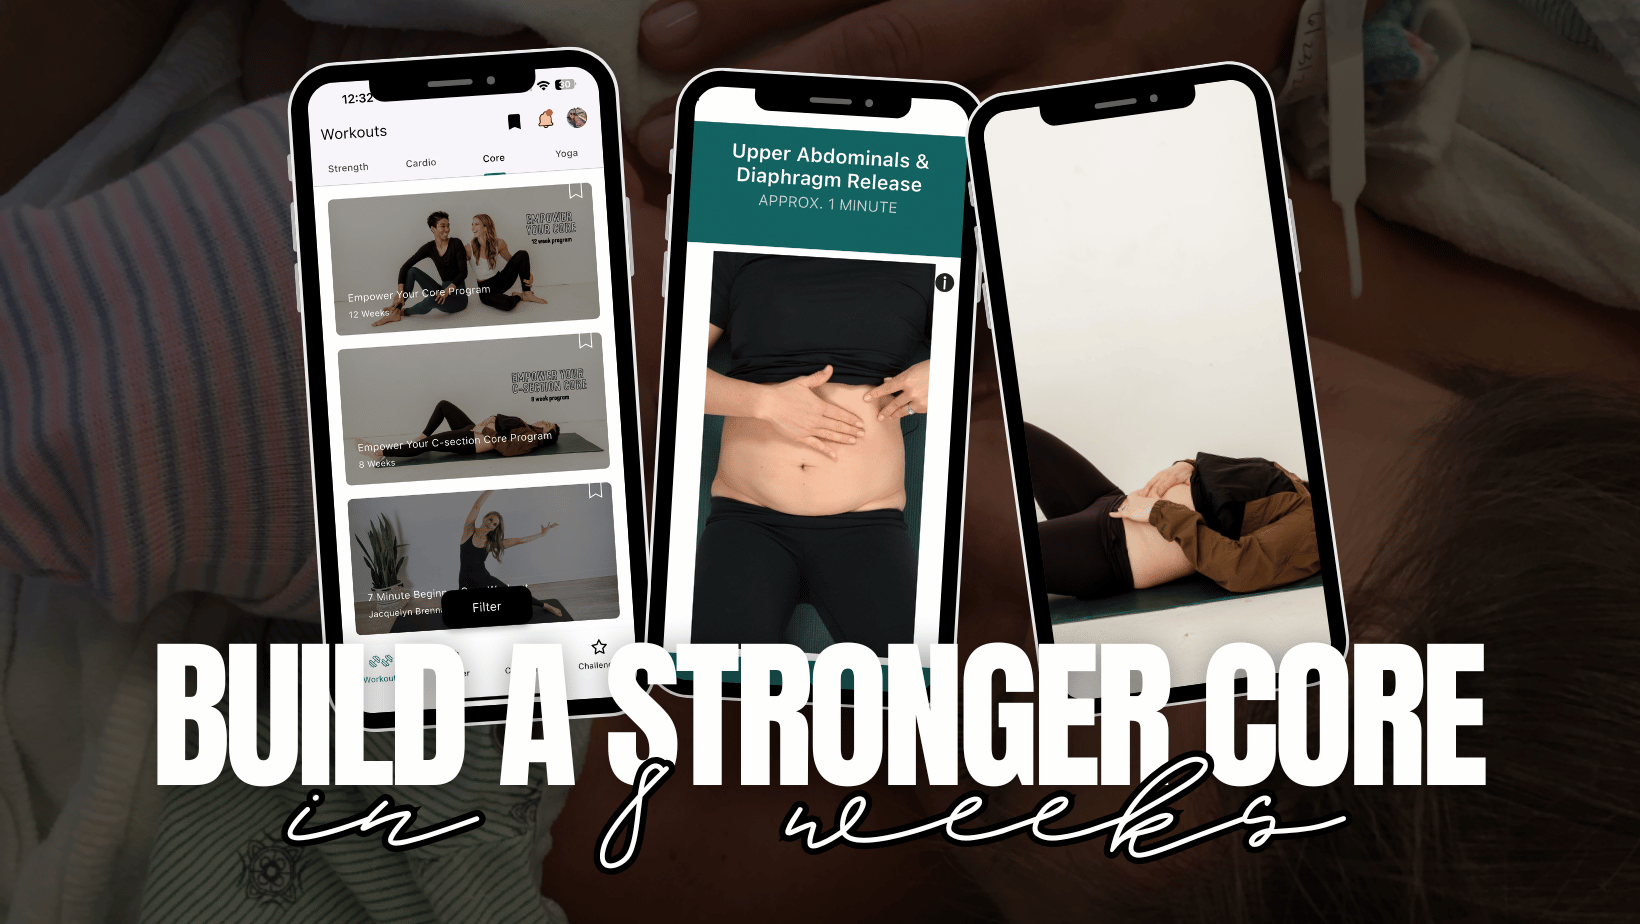
If you’re ready to strengthen your core after a C-section, we recommend starting ab exercises 12+ weeks postpartum. Inside the Expecting and Empowered APP, we have a C-section Core program that is 8 weeks that is a step-by-step guide to kick-starting your core. Here’s how to strengthen your core after a C-section with a quick, 15-minute workout.
Scar tissue management exercises
The effects of the scar on your abdominal strength are widespread. This is because it pulls at your muscles and the fascia (that white filmy tissue that covers everything). Most women are never taught about managing scar tissue post-C-section, even though it’s extremely helpful to improve ab function and the appearance of your scar!
Clear the canvas
To locate areas of restriction, lie down with your feet planted on the floor.
Start at the top of the rib cage and run a flat hand left to right as you feel for tender or tight areas. (Using lotion or oil can help!).
Keep doing this as you move down toward your pubic bone.
Once you locate restricted areas, press your fingers into the area and pull the tissue in the tightest direction. As you press and pull, breathe into that spot.
Upper abdominals and diaphragm release
Lie on your back with your knees bent.
Reach your right hand over to the left side and hook your right hand under the rib cage on the side of the belly muscle. Once you feel a tight area, roll your butt to the right and pull your belly muscle with your hand. Then, let the left leg open outward.
Repeat on the opposite side.
Oblique soft tissue massage
Lie down on your left side.
Starting at your back and next to your spine (the back of the obliques), use your right hand to push tissue forward under your rib cage. Rub from back to front as you move down toward the hip bone.
As you move tissue forward toward your abdominal wall, you can pause and massage tender, restricted areas in circular motions.
Repeat this move several times before moving to the right side.
Superior pull with pelvic clock
Lie on your back with your knees bent.
Place your three middle fingers over the scar as you press down. Then, pull the scar upward toward your head.
As you hold the scar, imagine your pelvis is a clock: 12:00 is toward your head and 6:00 is toward your feet.
Drop your pelvis to the 6:00 position to help move the scar using pelvic movement. Then, tilt your pelvis to return back to 12:00.
Keep alternating between 12:00 and 6:00 using pelvic movement as you hold your scar.
Superior pull with adductor stretch
Start in a half-kneeling position and bring your front foot out at a diagonal.
Place your hands just above the scar over the leg that is straight up and down. Gently press into the skin and lift upward.
As you hold the tight area, lean into that diagonal leg. You should feel the stretch in your groin.
Repeat on the other side.
Upper back mobility exercises
When getting your core back, there is so much emphasis on the abs themselves. But, to get your body moving optimally, you must get the upper back moving too! Your upper back is actually where the abs attach. The nerves that control your abdominals also come from your mid-back. Many moms have pain or fatigue in this area from carrying a baby.
Unilateral doorway stretch with breath
Grab the inside of a door frame with your left hand and step back until your arm is straight. You should be looking at the ground.
Slowly sit your butt back until you feel the weight in your heels and a stretch in your back and sides. As you stretch, breathe into your bra line and down your spine.
As you exhale, purse your lips and pretend you are blowing out birthday candles.
Repeat the movement on the right side.
Complete 4 breaths on each side.
Squat with diaphragmatic, back body breath
Holding onto the back of a chair, position yourself into a deep squat with the toes slightly angled outward.
As you’re squatting, inhale deeply into your bra line and expand your ribs. You should feel the ribs rise up and out. As you exhale, purse your lips and pretend you are blowing out birthday candles.
Repeat for 4 breaths.
Prone T’s + Y’s
Lie on your stomach with your toes gripping the ground. Leverage your upper back muscles to help keep your head off the ground (you should be looking downward).
Move your arms into a “T” position that hovers slightly above the ground, then pull the arms upward as if you’re flying. Keep moving the arms up and down in slow, controlled movements. Repeat 5 times.
Move your arms into a “Y” position near your ears, keeping the arms hovering. Repeat that same up-and-down movement 5 times in the “Y” position.
Oblique strengthening exercises
C-section mamas can become rectus dominant, meaning your 6-pack muscles activate more often than your obliques—the outermost ab muscles at your sides. This happens because the rectus is most affected by the C-section itself. When you have rectus dominance, your obliques won’t kick on as much as they should. Reactivating and strengthening your obliques can help correct any imbalance.
Diagonal core with adductor squeeze
Lie on your back with your knees bent and your feet flat on the floor. Place a small exercise ball between your knees.
Place your arms above your head and interlock your hands into a pointed-finger gun.
Exhale, squeezing the ball between your knees as you lower your hands diagonally to the left. Inhale, releasing the squeeze and lifting your arms back above your head. Repeat 5 times.
Repeat on the right side.
Side plank with hip drop
Start in a side plank position on your left side. Your left elbow should be on the ground directly under your shoulder, and your right hand should be on your hip.
Slowly lower your left hip toward the ground until it hovers a few inches off the floor. Then, use control to pull your hip back up into the starting position. Repeat 5 times.
Repeat on the right side.
Plank knee to opposite elbow
Start in a plank position.
Slowly bring your left knee to your right elbow and then bring it back to the plank position.
Do the same movement with your right knee to your left elbow.
Repeat 10 times as you alternate sides.
RB ½ kneeling rotation
Anchor a resistance band in a doorway at chest height and start in a kneeling lunge with your left knee forward and right knee on the ground. (Your right hip should be facing the doorway/resistance band.)
Grab both ends of the resistance band with your arms straight.
Keep your arms straight as you rotate your trunk away from the door, pulling against the resistance band.
Slowly return to the starting position.
Complete 5 reps and then repeat on the right side.
RB bridge
Anchor a resistance band in a doorway at hip height. Lie on your back with your knees bent and feet flat on the floor. (Your right hip should be parallel to the doorway/resistance band.)
Place both ends of the resistance band between your hands and keep your arms straight.
Keep your arms straight as you contract your glutes and press your hips to the sky, rising into a bridge position. Pull against the resistance band to keep your arms straight as you move.
Slowly return to the starting position.
Complete 5 reps.
Repeat with the left hip parallel to the resistance band.
Lower abdominal isolation exercises
Lack of lower abdominal strength can contribute to lower back pain and the “mom pooch” after a C-section. But to make tissue changes, the lower abdominals need LOAD and stress.
Iso abs: Push
Lie on your back with your hips and knees bent at 90-degree angles. Keep your feet flexed.
Push your hands into your thigh muscles until you feel your abdominals contract. Hold this for 10 seconds.
Iso abs: Cross
Lie on your back with your hips and knees bent at 90-degree angles. Keep your feet flexed.
Cross your arms and push your hands into your opposite thigh muscles (right below your knees). Push until you feel your abdominals contract. Hold this for 10 seconds.
TA contraction: Single-leg fallout
Lie on your back with your knees bent and feet flat on the floor.
Extend your left leg with your foot flexed and slightly hovering above the ground.
Gently contract your abdominals to raise your left leg toward the sky. Stop when your thighs are parallel. Then, gently lower your left leg to slightly hover above the ground. Repeat 5 times.
Repeat on the right side.
TA contraction: Double-leg fallout
Lie on your back with your knees bent and feet extended. Place your hands underneath your butt for support, with your palms on the ground.
Flex your feet as you slightly hover your heels above the ground.
Gently contract your abdominals to raise your legs toward the sky. Stop when your hips make a 90-degree angle. Then, gently lower your legs to hover above the ground.
Repeat 5 times.
Try the Empower Your C-section Core Program in the Expecting and Empowered App!
As with any trauma to the body, our body remembers. Your C-section scar will need maintenance throughout your lifetime, and it’s a continual process.
If you’re not sure how to get started, the Empower Your C-Section Core Program can help. Included with the Expecting and Empowered App, this C-section Program offers expert-guided movements to help you reconnect with your core and improve the appearance of your scar. Designed for those 12+ weeks postpartum, build a stronger core in 8 weeks with 3 curated workouts per week.
SOURCES
Lyell DJ, et al. (2017). Rectus muscle reapproximation at cesarean delivery and postoperative pain: A randomized controlled trial. https://www.ncbi.nlm.nih.gov/pmc/articles/PMC5565698/
Tian P, et al. (2021). An ultrasound observation study on the levator hiatus with or without diastasis recti abdominis in postpartum women. https://link.springer.com/article/10.1007/s00192-021-04783-1